An MD’s Opinion:
If you run a fabrication shop, I am sure you know the feeling. A machine that was giving you mirror finish edges last month is suddenly leaving dross, burr, and inconsistent kerf on every second sheet. Operators start blaming the material. Sometimes it is the material. In my experience, most of the time, it is not.
Over the years I have walked shop floors across India helping teams troubleshoot exactly this problem, laser cut quality that quietly slips until it becomes a rejection rate nobody can ignore. What I have learned is that a drop in cut quality almost always traces back to one of six things. This is the same checklist I walk through with my own team, and I am sharing it here so you can work through it in order and usually find the culprit before lunch.
1. Check Your Focus Position First
Whenever I get a call about poor cut quality, focus drift is the first thing I ask about. On a fiber laser, the focal point needs to sit at a precise distance relative to the sheet surface. Even a small shift, caused by a bumped nozzle, a worn protective lens, or an uncalibrated auto-focus head, changes the energy density hitting the material, and I have seen this alone account for the majority of quality complaints that land on my desk.
Here is what I ask my team to check:
-
- Confirm the focus offset matches the recommended setting for the material and thickness you are cutting
-
- Inspect the cutting head for any physical knock or misalignment
-
- Run a focus test cut on scrap and compare the kerf width to your baseline
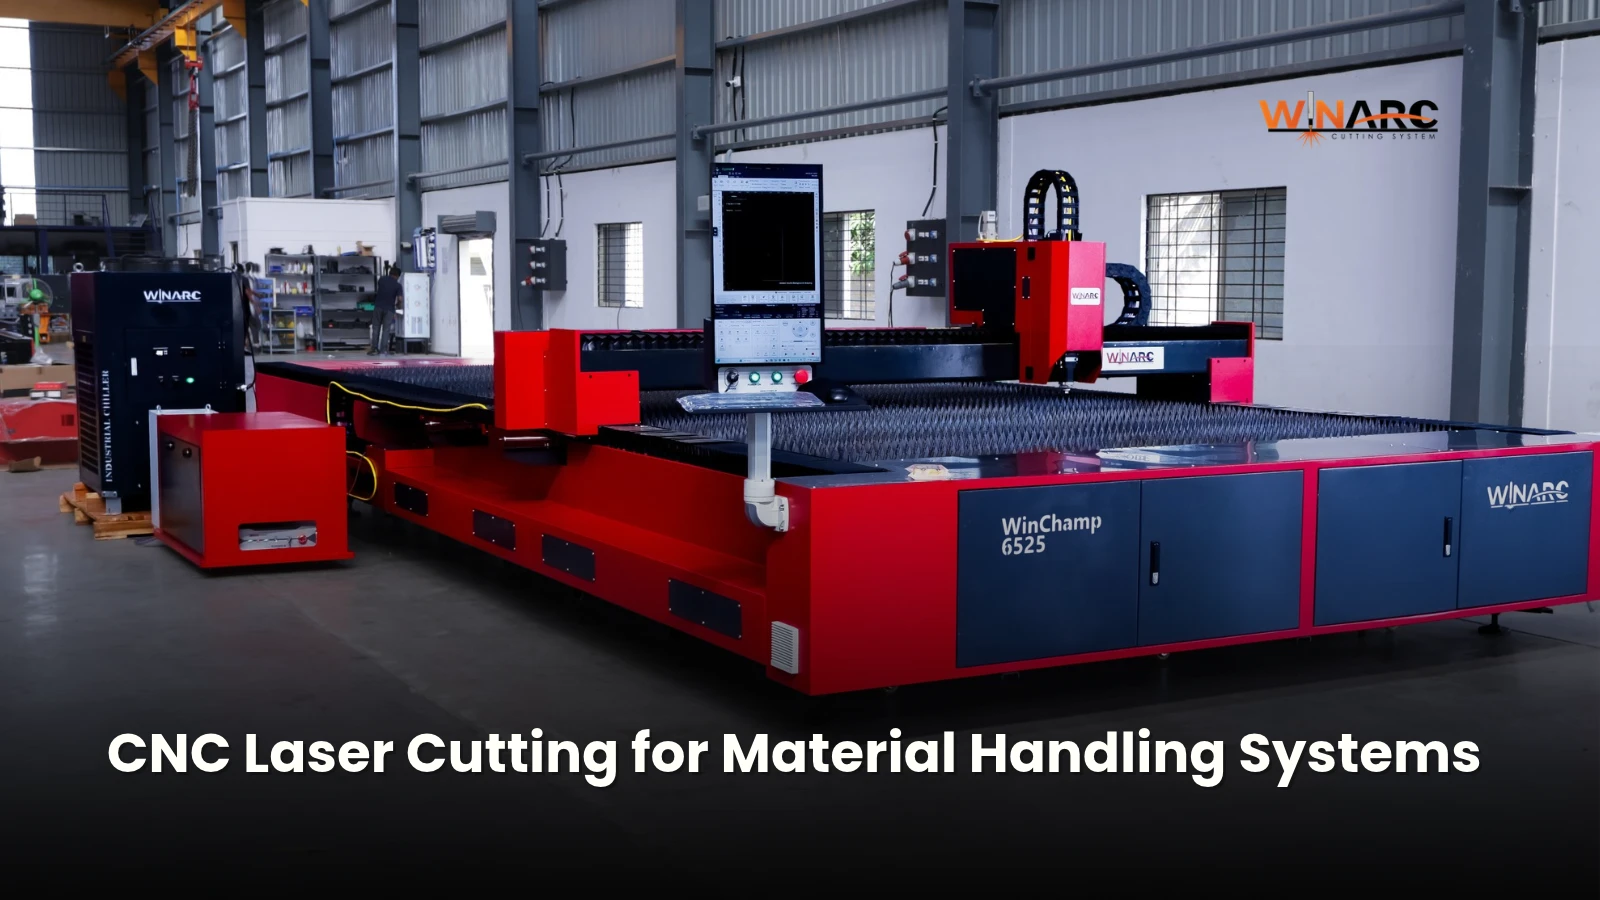
We fit our WinMaster and WinChamp series with auto-focus heads and real time sensors precisely because this risk is so common, but I still tell customers that even good hardware needs periodic calibration checks. No sensor replaces a disciplined maintenance habit.
2. Inspect Nozzle and Protective Lens Condition
Nozzles and lenses are consumables for a reason, and this is the check I find gets skipped most often under production pressure. A nozzle with a worn or off-center orifice disturbs the assist gas flow around the cutting point, which shows up as rough edges and inconsistent dross formation. A lens with even a light coating of spatter reduces beam quality and can cause localized overheating.
What I recommend checking:
-
- Look for visible pitting, spatter buildup, or an out-of-round orifice on the nozzle tip
-
- Clean or replace the protective lens on a fixed schedule rather than waiting for visible damage
-
- Keep a stock of genuine spares on hand so a worn nozzle never stays in service out of convenience
Of everything on this list, this is the cheapest fix, and it is the one I push hardest on when I visit a shop floor.
3. Verify Assist Gas Pressure and Purity
Assist gas does two jobs in my view. It blows molten material out of the kerf, and it shields the cut from oxidation where needed. If pressure is too low, dross clings to the bottom edge. If pressure is too high or inconsistent, you get striations and rough sidewalls. I have also seen gas purity cause problems that looked like a machine fault at first, particularly with nitrogen cutting on stainless steel, where even small impurities show up as discoloration.
What I ask operators to verify:
-
- Confirm pressure at the cutting head matches the parameter set for that material and thickness
-
- Check regulators and gas lines for leaks or pressure drop under load
-
- Verify gas purity, especially if you have recently switched suppliers or cylinders
4. Match Cutting Speed to Material and Thickness
Speed and laser cut quality are directly linked, and this is a point I keep coming back to with customers. Cut too fast and the beam does not have time to fully penetrate, leaving an incomplete cut or heavy dross. Cut too slow and you get excess heat input, wider kerf, and a burnt edge. I find this becomes especially critical as thickness increases, where the margin for error narrows considerably.
What I check on-site:
-
- Cross reference your cutting speed against the machine’s parameter library for the current material and thickness
-
- Re-run parameter calibration if you have recently changed material grade or supplier batch
5. Check Machine Bed Rigidity and Axis Alignment
Everything above assumes the laser cutting machine itself is mechanically sound, and this is where I ask shops to look next. A gantry that has developed play, linear guides that need lubrication, or a bed that has shifted out of level will introduce vibration into the cut path. This shows up as wavy edges, inconsistent kerf width across a large sheet, or striation patterns that I have often seen mistaken for a parameter issue when the real cause was mechanical.
What I recommend checking:
-
- Listen for unusual vibration or noise during high speed traverses
-
- Check linear guide lubrication schedules
-
- Verify positioning accuracy periodically against machine specification, particularly on large format tables where any deviation is magnified over distance
This is exactly why I insist we build the WinChamp and WinMaster ranges on stress relieved, blasted and painted MS structural beds with THK Japan linear guides. Mechanical rigidity is not a specification you notice on day one. You notice it eighteen months in, when a lesser built machine starts drifting and yours does not, and that difference is something I take personally as an engineer.
6. Check Laser Source Health and Fiber Cable Condition
If focus, consumables, gas, and speed all check out and quality is still dropping, I tell my team to look upstream at the laser source itself. Output power can degrade gradually due to fiber cable wear, connector contamination, or cooling issues at the source. In my experience this is often the last thing operators check because it feels like the least likely cause, but on machines running multiple shifts I have seen it more often than most shops expect.
What I look for:
-
- Monitor actual output power against rated power periodically
-
- Inspect fiber cable connectors for contamination or damage
-
- Confirm chiller performance and coolant temperature stability, since laser sources are sensitive to thermal fluctuation
I have found that modern single module fiber lasers from suppliers like Max Photonics are built for reliability, but they are not maintenance free. A stable, well cooled source is the foundation everything else on this list depends on.
Why This Matters More as Power Goes Up
As shops move to higher power fiber lasers for thicker plate and faster throughput, I have noticed the margin for error on every point above gets tighter. Higher power means faster cutting speeds are possible, but it also means small deviations in focus or gas pressure produce visible defects sooner.
Read more about 12KW laser cutting machine.
A Final Word from the Shop Floor
In my experience, laser cut quality problems are rarely mysterious. They are almost always one of these six things, and working through them in order has saved my customers hours of guesswork over the years. I always tell teams to start with focus and consumables since they are the fastest to check, move through gas and speed, and only then look at the mechanical structure and laser source.
If your team is running through this checklist regularly and still seeing quality drop, it may be time to have someone take a closer look at the machine itself. I am happy to help, whether that means a diagnostic visit or simply a conversation about what a well built, precision engineered fiber laser system should be delivering for your shop.
What causes laser cut quality to drop suddenly?
In my experience, a sudden drop is usually mechanical or consumable related, such as a damaged nozzle, contaminated lens, or a gas leak. A gradual decline points more often to laser source degradation or focus drift.
How often should I replace the nozzle and protective lens?
This depends on cutting hours and material, but I always recommend a fixed preventive schedule rather than waiting for visible defects to appear.
Does cutting speed really affect edge quality that much?
Yes, and I see this often. Speed that is mismatched to material thickness is one of the most common causes of dross and incomplete cuts, especially as plate thickness increases.